I made a light colored canvas layer. With watercolor you always start from light to dark, which is contrary to other painting mediums. The same goes for digital painting when trying to recreate the look of watercolor.
 | ||
| Textured canvas |
Second I added some more texture, admittedly I added some texture in later on this same layer when I completed the turtle.
 | ||||||||||||||||
| texture layer |


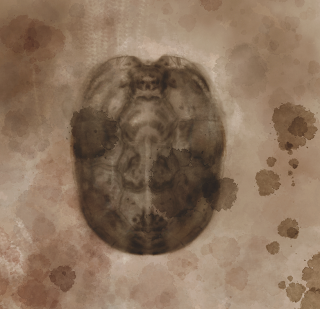
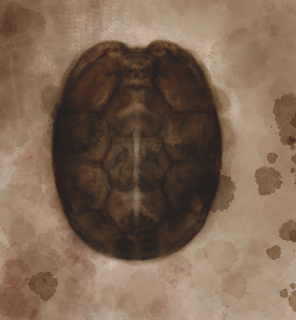
Above I made one shell layer with tones (left) and then a detail one on top of it. This was the easiest part, since I used the symmetry tool I could do twice the work in half the amount of time.
Here I added legs and head, I followed the same process as above, making tones first and following up with detail.
above is the difference between Corel painter 12 and Photoshop. This is the most dramatic difference I've seen between the two when loading the same file into the two programs. In Corel painter, the layers used were 'Gel' Layers, when in Photoshop they opened as 'Darken'
Layers. You could tweek the difference though. I just thought I would include it, so you could plan on there being a difference. Try the program out for yourself and tell me what you think. Have fun with your masterpieces


No comments:
Post a Comment